
These chocolate witch finger pretzels turn crunchy pretzel rods into Halloween treats with dark chocolate, white candy nails and a few simple decorating marks. There is no dough to mix or oven to heat. Serve them beside our alcohol-free witches brew punch for a sweet-and-salty party table.
Jump to ingredients and method · Storage and party prep
Images are AI-generated recipe illustrations; actual results may vary.
What makes this version different?
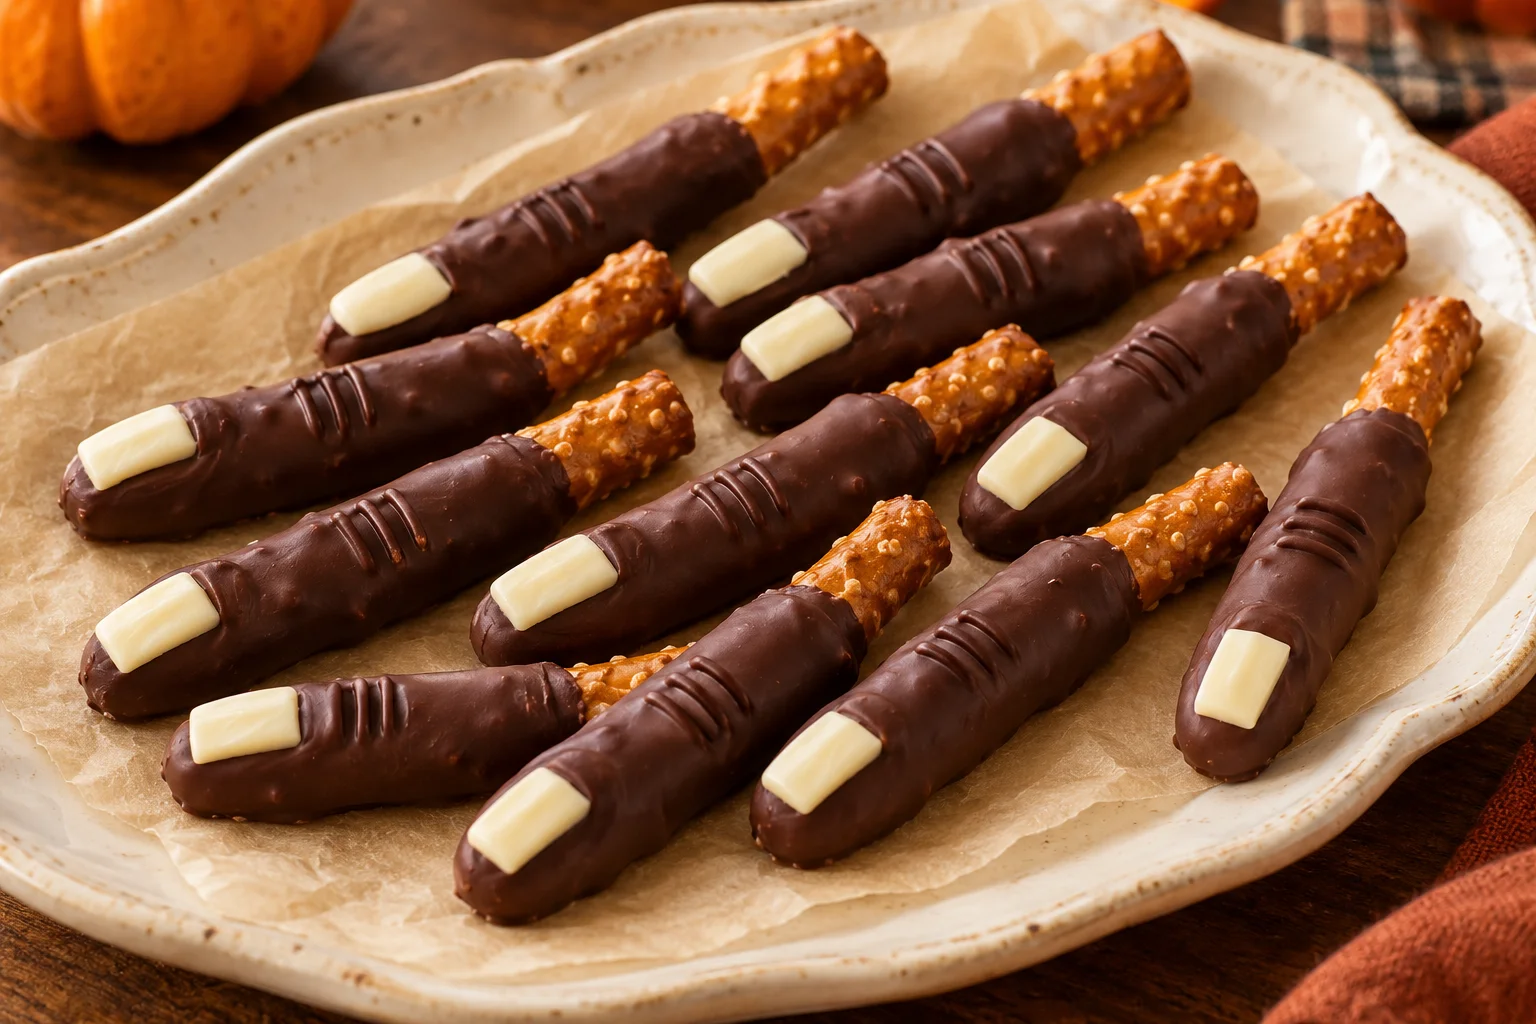
This version uses brown chocolate fingers instead of a green coating. Small white candy decorations stand in for fingernails, so no almond slices are needed. That does not make the recipe allergy-free: pretzels, chocolate and decorations can contain wheat, milk, soy or traces of nuts. Check every package for your guests’ needs.
The decoration is deliberately simple. A fork makes short lines across the coating, while a small piece of white candy at one end gives each rod a finger-like shape. You do not need to copy a particular photograph or get every piece identical.
Chocolate witch finger pretzels recipe
Yield: 12 treats. Active preparation: approximately 20 minutes, plus setting time according to the coating package. No alcohol is used.
Ingredients
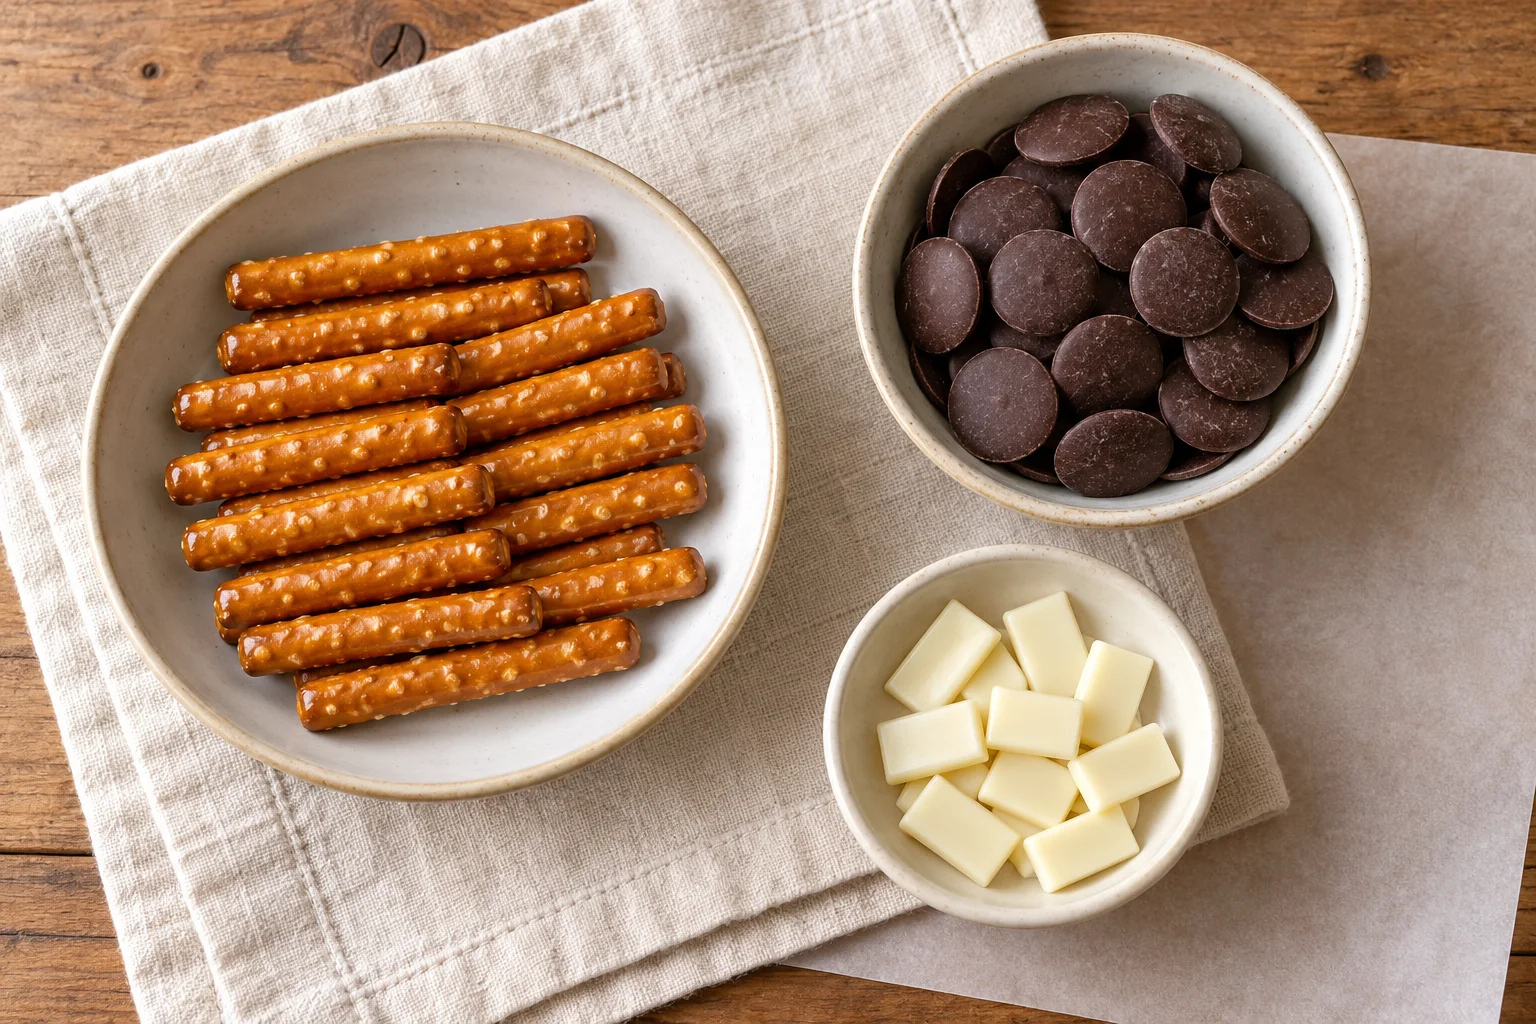
- 12 short pretzel rods, or 6 long rods carefully broken in half
- 8 ounces dark chocolate melting wafers, plus more if needed for a deep dipping container
- 12 small white candy decorations, or pieces of a white chocolate bar, for the nails
Choose wafers made for dipping and follow their melting directions. Ordinary chopped chocolate can work, but its finish and firmness depend on tempering and room temperature. Do not add water to loosen melted chocolate.
Equipment
A parchment-lined tray, a dry microwave-safe bowl, a spoon, a fork and a small heat-safe cup are enough. The cup should be narrow enough for dipping without needing a large amount of coating.
Method
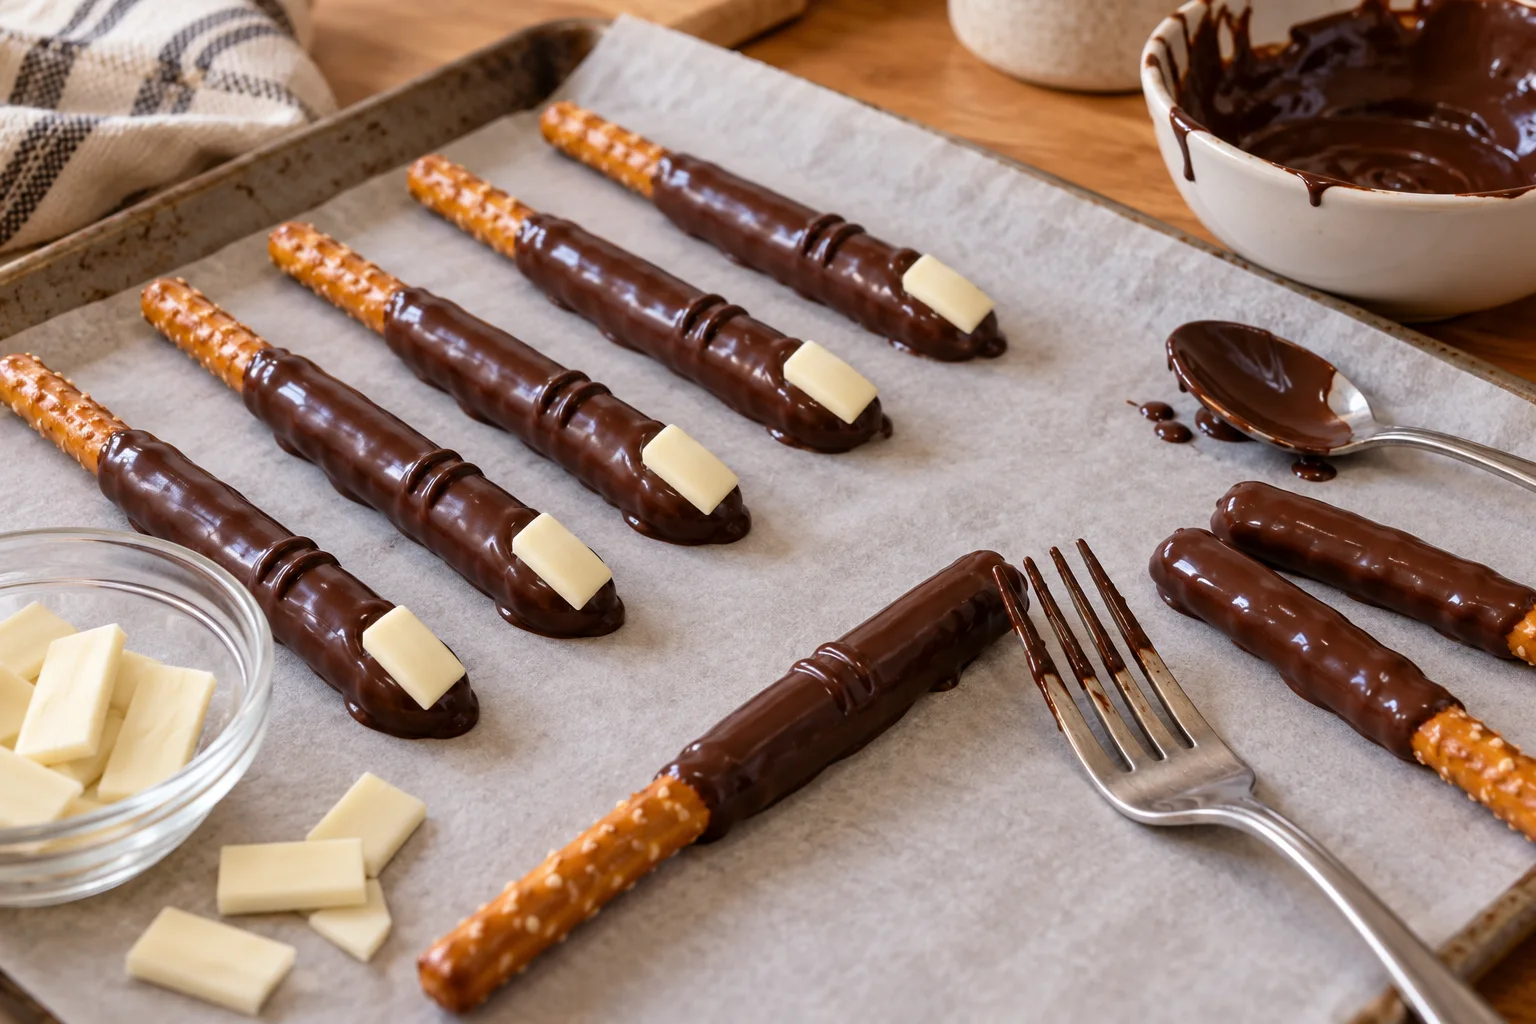
- Arrange the pieces. Line a tray with parchment. Count out the rods and candy nails before melting anything. Dry utensils and a dry tray help keep the coating smooth.
- Melt the coating. Follow the wafer manufacturer’s directions, stirring frequently. Stop heating when stirring melts the remaining soft pieces. Let an adult handle hot bowls.
- Coat each rod. Hold one end and spoon or dip chocolate over most of the rod, leaving a dry handle. Let excess drip into the bowl, then place it on the parchment.
- Decorate in small groups. Press one candy nail near the coated tip. When the surface starts to thicken but is still soft, make two or three short knuckle lines with the edge of a fork. If the coating runs back together, wait a little longer before marking the next piece.
- Let them set. Leave space between pieces until firm enough to lift cleanly. Follow the package’s setting guidance rather than relying on one fixed time for every product.
For a confectionery coating such as Candy Melts, consult Wilton’s guide to melting candy coating. For your chosen dark chocolate wafers, follow the instructions on their own package.
How to avoid common problems
The coating is too thick: rewarm briefly as directed on the package. Use a spoon to cover the pretzel if there is not enough depth for dipping. Avoid repeatedly overheating the whole batch.
The nail slides off: use a smaller decoration and let the surface thicken slightly before attaching it. If the coating has hardened, a dab of melted chocolate can act as edible glue.
The rods break: use short rods or coat long rods whole. Snapping them is optional, and a few irregular ends suit the Halloween shape.
Storage and party prep
Prepare the tray before the party and pack only once the coating is fully firm. Store in an airtight container in a cool, dry place, following the ingredient manufacturers’ storage instructions. Separate layers with parchment and keep them away from sun or a warm serving area.
For 24 treats, double each ingredient and coat in smaller groups so you have time to decorate before the chocolate sets. This recipe does not need alcoholic extracts, spirits or liqueurs.
Frequently asked questions
Can I use white coating instead?
Yes. Use a contrasting edible candy nail so the decoration remains visible. If coloring coating, use a product specifically compatible with chocolate.
Can children decorate them?
Adults should melt and handle hot chocolate. Choose decorations appropriate for children’s ages and leave off hard or small candy pieces where needed.
What can I serve with them?
Pair them with nonalcoholic Halloween punch, or browse our cookie collection for another sweet option.
Planning a dessert table? Explore our dessert recipes for more sweet options to serve alongside these pretzels and the punch.
Party quantities at a glance
Scale the ingredients below for the number of treats you need. Chocolate is an estimate: a deeper dipping cup and a thicker coating require more. Work in small groups so the chocolate stays soft enough to decorate.
| Treats | Short pretzel rods | Melting wafers | Candy nails |
|---|---|---|---|
| 6 | 6 | 4 oz (113 g) | 6 |
| 12 | 12 | 8 oz (227 g) | 12 |
| 24 | 24 | 16 oz (454 g) | 24 |
How do I pack them without damaging the decoration?
Let the coating become fully firm before moving the treats. Place them in a rigid container in a single layer where possible. If stacking, add parchment between layers and avoid placing weight on the candy nails. Pack away from a warm window or car; a coating that feels firm in a cool kitchen may soften during transport.
Printable chocolate witch finger pretzels recipe
Chocolate Witch Finger Pretzels
Ingredients
Method
- Line a tray with parchment and arrange 12 pretzel rods and 12 candy nails.
- Melt the dark chocolate wafers according to the package instructions, stirring frequently with dry utensils.
- Dip or spoon chocolate over most of each rod, leaving a dry handle. Let excess drip off and place on the parchment.
- Attach a white candy nail. When the surface thickens but remains soft, mark short knuckle lines with a fork.
- Let the coating set completely according to the package guidance before serving or packing.